Volatility installation on Windows 10 / Windows 11
What is volatility?
Volatility is an open-source program used for memory forensics in the field of digital forensics and incident response. Memory forensics involves analyzing the volatile memory (RAM) of a computer system to extract information such as running processes, open network connections, loaded drivers, and more.
It provides a framework and a set of tools that allow forensic investigators to examine memory dumps of compromised or suspect systems. It’s particularly useful for investigating advanced cyberattacks, rootkits, and other malicious activities that might not leave clear traces on the filesystem.
Requirements:
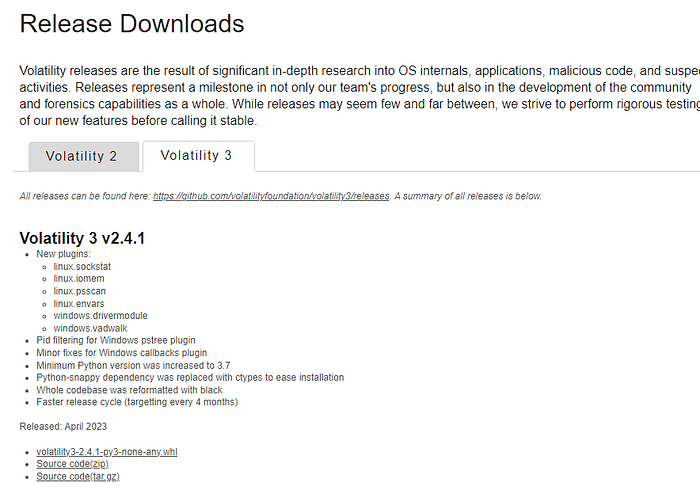
Volatility 3
Python 3
Microsoft C++ Build Tools (for volatility plugins)
Python Snappy
Installation
I’ll be installing Volatility 3 on Windows, and you can download it from the official Volatility Foundation website, where you’ll find the download link for the program. Additionally, for Volatility to work smoothly, you’ll need Python 3.
Let’s start by installing Python 3. To do this, simply visit the python.org website, go to the “Downloads” section, and select the appropriate operating system. In my case, it will be Windows.

I will choose the latest version, which, at the time of writing this article, is Python 3.11.4.
After the installation is complete through the downloaded .exe file, you can verify its correctness by opening PowerShell and entering the command “python -V”.

Next, we will install Microsoft C++ Build Tools from the website.

It’s important to have Visual Studio installed on your system beforehand. These tools are crucial as some plugins for Volatility may not work correctly without them. After completing the installation process, we proceed to install Volatility itself.

Volatility can be downloaded from the official GitHub repository or website. Regardless of where you choose to download Volatility, during the installation, you’ll get the same .zip folder that needs to be extracted.
After extracting the zip file, you’ll find the “vol.py” file inside, which is used to run Volatility. To run it, open PowerShell as an administrator, navigate to the folder where Volatility was installed and then execute the file using the appropriate command.
NOTE: Please do not proceed yet! We still need to install Python Snappy.
I had a big problem finding the original package for Windows that would work. However, after a long time of struggling with errors, I came across this link which will immediately download the correct file.
Next, to install the contents of the file, use the command below in PowerShell.

And the last thing we need to install is the contents of the requirements.txt file located in the volatility installation folder. To do this, execute the command below in PowerShell.

Afterward, you can try running Volatility.

And here you have it — now you have Volatility up and running, ready to be used. Don’t worry about the information that pops up when you run the command “python vol.py.” It simply informs you about the directories where both plugins and symbol tables need to be installed if they’re needed.
Even though the installation of Volatility 3 is quite complex and time-consuming, it is a powerful tool that will certainly find its place in your toolbox.😎
Last updated